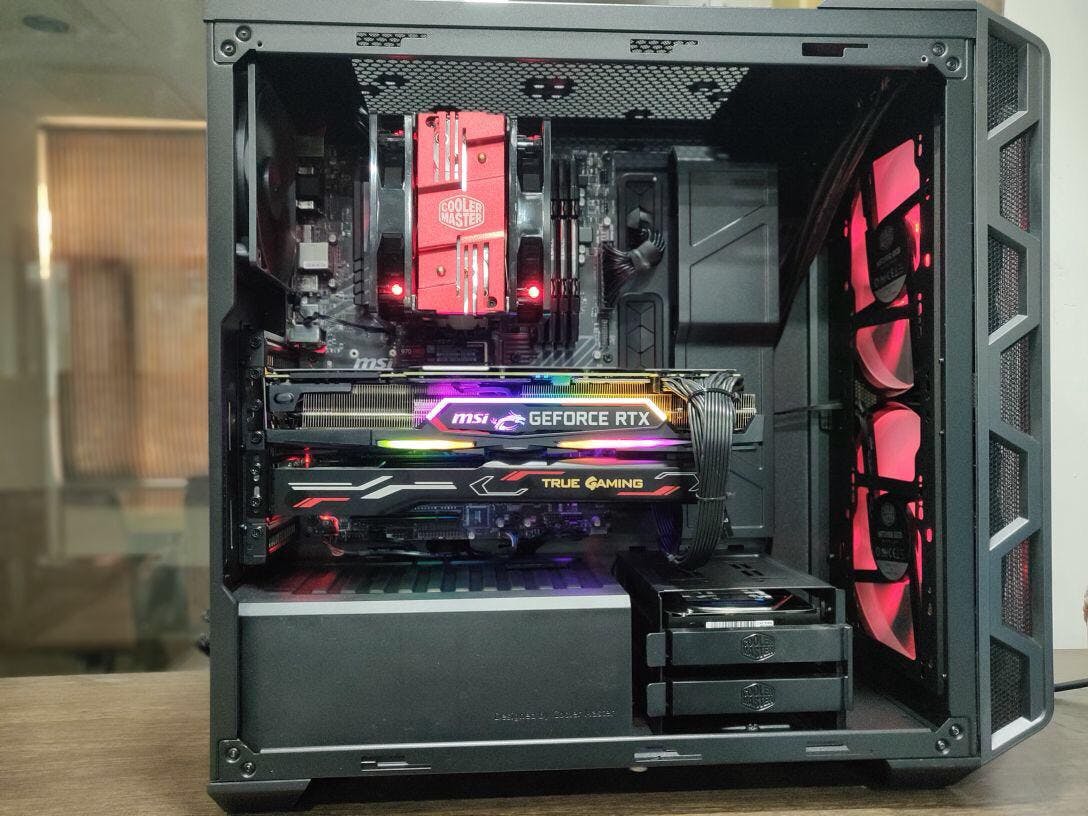
Part 2 of getting our First Deep Learning Build In the , I had given a brief walkthrough of the parts that I had picked for and about the reasons for getting it assembled from a third party retailer: “Ant-PC”. previous writeup “Neutron” In this blog, I’ll share the step by step instructions that for setting up on an software Nvidia-based “Deep Learning Box”. Overview: For storage, : I have 2 Drives Samsung 970 Pro NVMe M.2 512GB 2TB HDD My retailer had been kind enough to install windows as per my request on a 500GB partition made on the HDD. Ubuntu 18.04 Installation For , I was going to have Ubuntu 18.04 installed on the M.2 drive with Swap space allocated on it as well, plus the extra space left over after allocating windows in the 2 TB HDD allocated for archiving and storing data sets Neutron Pre-Setup Disable Fast Startup > > and uncheck the . (Using Search, Open Power Options) Power Options System Settings Choose what the power buttons do Turn on fast startup box Source Disable Secure Boot- Search Advanced Startup Options- Click on Restart Now- Select Troubleshoot>Advanced Options>UEFI Firmware Option Settings>Restart- Next BIOS Settings will open, this will vary depending on your setup- Navigate to Boot Tab- Disable Secure Boot- You may need to Turn Legacy Support On/Off Source Create Installer Download the Latest Image of Ubuntu 18.04 from . Here You will need a Memory Stick of ≥4GB. If you’re using Windows, use for a quick setup. This Tool If you have access to an Ubuntu System, use the inbuilt Startup Disk Creator. Restart and Enter BIOS and Enable Boot from USB. Installing Ubuntu You should be able to boot into Ubuntu For sanity checks-select “Try Ubuntu without installing”- Check if your network cards are working okay.- Check the sound cards for quick relief. Note: If either of the cards isn’t being detected by Ubuntu, it might have to do with the kernel version-check your device names and see if those are supported. If not, you may need to get an external network/wifi card and an external sound card. Select the Language Source Ignore the Update while Installing (It slows down the installation if your internet is slow) Select Language. Source Select Something Else From here, select your drive. I picked the 512 GB M.2 Click on “+” Next you need to allocate space to your OS and to SWAP. Give Most of the space to /(I prefer allocating one single space to / and /home. Reason: Some Installations, especially CUDA might cross the size allocated to /) Source Give 2x The Space of your RAM to SWAP. Personally, I have 64GB RAM and have allocated 32GB just to give me extra room to work with Huge Datasets. Source Setup your login credentials Source Finally Click Install Source Finally, Reboot. That’s it, you’re done. In the next sub-part, we’ll look at CUDA 10 Installation CUDA 10 Installation Quick Note: As per the , its recommended: fastai installation instructions If you use NVIDIA driver 410+, you most likely want to install the pytorch variant, via: cuda100 conda install -c pytorch pytorch cuda100 Below are the instructions for installing CUDA using the .run file provided by Nvidia. Reason: It may have some issues with Tensorflow since the cuda100 variant is just for PyTorch, I’ll update this post later after testing on that more. Now, on to the installation: Update and Upgrade $ sudo apt-get update$ sudo apt-get upgrade Install Nvidia Drivers Download the drivers from . here Next, give run permissions to the .run file chmod +x NVIDIA-Linux-x86_64-410.93.run Reboot and Check if Drivers are installed correctly by running: nvidia-smi If you get an output with details of your GPU, everything is set up. Pitfall: In case your Ubuntu gets stuck in a “boot loop”:- Press Ctrl+Alt+F3 (Note: on 16, its ctrl+alt+f1 to get tty1)- Purge the drivers sudo apt-get purge nvidia-* Reboot Install Conda To install the Latest version of Conda, we’ll use a handy Script by Kaggle Master Mikel curl | bash https://conda.ml Or if you want to download the installer from Anaconda’s website, that will work as well. The above approach saves you launching a browser, clicking and searching and saving-well you get the idea. Install CUDA Download CUDA from . here I’m Setting up CUDA 10.0 Download the runfile (local) Open Terminal and Change directory to Downloads. Change Executable Permissions for the Installer. Run it. $ cd Downloads$ chmod +x ./cuda_10.0.130_410.48_linux.run$ sudo ./cuda_10.0.130_410.48_linux.run Press Space to Scroll Down and accept the terms and conditions Type to the Prompt “Install with an unsupported configuration” yes Type when prompted “Install NVIDIA Accelerated Graphics Driver for Linux-x86_64 xyz.xyz ”. no Keep the defaults. Reboot After Reboot, check CUDA Version nvcc -V This should prompt the Installed CUDA Version In case of a Boot Loop problem, purge the drivers and try again. Set Paths export PATH="/home/User/anaconda3/bin:/usr/local/cuda/bin:$PATH"export LD_LIBRARY_PATH="/usr/local/cuda/lib64:$LD_LIBRARY_PATH"source ~/.bashrc Install Cudnn Download the Cudnn version supported by your installed CUDA Version from (you will need an Nvidia Account for this) Here Once downloaded, we are going to unpack the archive and move it the contents into the directory where we installed CUDA 10.0: tar -zxvf cudnn-_.0-linux-x64-v_.tgzsudo cp -P cuda/lib64/* /usr/local/cuda-10.0/lib64/sudo cp cuda/include/* /usr/local/cuda-10.0/includesudo chmod a+r /usr/local/cuda-10.0/include/cudnn.h Finally, Since I’m a fan of FastAI-To end things, we’ll setup a conda env for fastai Setup FastAI Create a conda env $ conda -n fastai$ conda fastai create activate Sharing the instructions from . the official repo $ conda install -c pytorch -c fastai fastai Follow some further instructions for performance gains $ conda uninstall --force jpeg libtiff -y$ conda install -c conda-forge libjpeg-turbo$ CC="cc -mavx2" pip install --no-cache-dir -U --force-reinstall --no-binary :all: --compile pillow-simd Setup (Other/Any) Environment Pip install or conda install using the requirements.txt or req.yml files. pip install -r <Link> Quick Test Checking if CUDA devices are accessible inside a Library. PyTorch has a function to Check CUDA device(s) torch.cuda.is_available This should return a True. Quick Test To Warm up our GPU, we can try the sample script from the docs: path untar_data(URLs**. . . = .**fit(1) = MNIST_SAMPLE)data ImageDataBunch = from_folder(path)learn create_cnn(data, models = resnet18, metrics accuracy)learn Just run these few lines of code in an nb. -this takes about 2 seconds to run. On my GPU That’s it. You’re done! . If you found this article to be useful and would like to stay in touch, you can find me on Twitter here .