657 reads
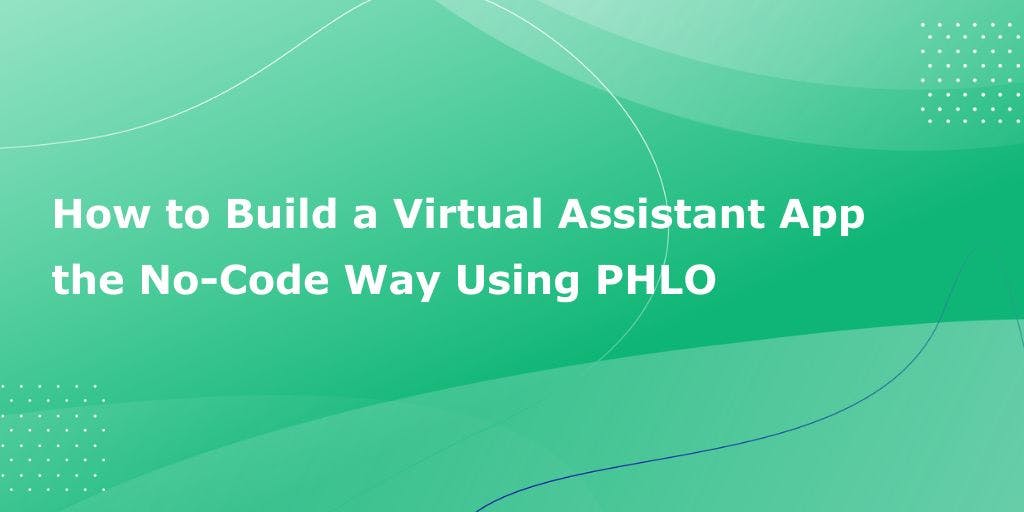
A No-Code DIY: Setting Up an IVR Virtual Assistant
by
March 16th, 2022


Audio Presented by


About Author
Plivo — Enterprise-grade cloud communications stack for your business.
Comments

Plivo — Enterprise-grade cloud communications stack for your business.